
Electrical Fixes You Can Do Yourself for Free: Fix an EV Charger That “Stopped Working”
- Afshid F. Nazar
- Mar 1
- 2 min read

Updated: Mar 8
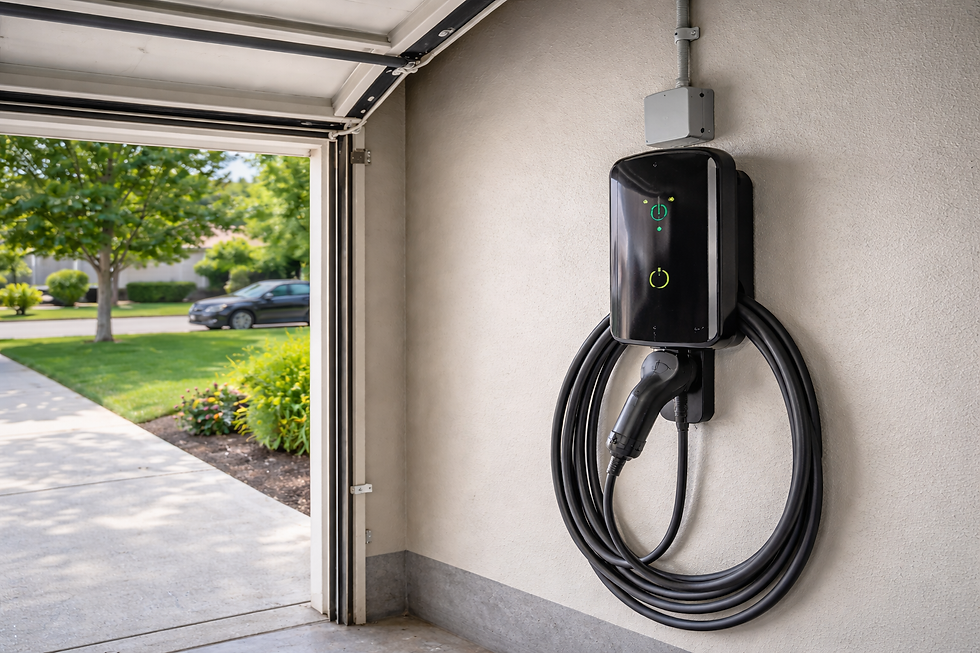
Free Electrical Fix You Can Do Yourself (Before Calling an Electrician)
If your Level 2 home charger suddenly stopped working, follow this checklist before booking a service call, and fix an EV Charger That “Stopped Working”.
1. Check the Breaker
Go to your main panel. Look for the EV charger breaker to fix an EV Charger That “Stopped Working”(usually 2-pole, 40A–60A). If it’s tripped, switch it fully OFF, then back ON. If it trips again immediately, stop here — that indicates a fault. You can read more about fixing breaker panel issues yourself.

2. Confirm Power at the Charger
Check for indicator lights. Most chargers have LED status lights:
Solid green/blue = ready
Red or flashing red = fault
No light = no power
No light usually means a breaker, wiring, or internal protection issue.
3. Inspect the GFCI / Internal Protection
Some installations are protected by a GFCI breaker. If present, reset it at the panel. (Do not repeatedly reset if it keeps tripping.)
4. Check the Vehicle Side
Plug the charger into another EV (if available) or use a public charger to test your EV. If it won’t charge anywhere, the issue may be the vehicle.
5. Inspect the Connector
Look for:
Bent pins
Moisture
Debris inside the plug
Never insert tools inside the connector.
6. Reboot the Charger
If it’s a smart charger, turn off the breaker for 2–3 minutes, then restore power.
If the breaker keeps tripping, LEDs show a persistent fault, or you notice heat damage — stop troubleshooting and book a licensed electrician.


Comments